5 Tips for Natural Lighting in Photography
5 Tips for Natural Lighting.
Light is the most important element in any photograph, sometimes the reason for the photograph. The ordinary can be made beautiful, in the right light. To master natural light, start looking at light at different times of the day and year. Start thinking about the light and the qualities of natural light. So let’s dive in and talk about natural light in photography. All of the images have not been retouched or altered.©LisaRamsay.
Morning Fall Light
Photography lighting tip number one: Choose the time of day to photograph.
It can make a difference between an average photograph and a great photograph. Early morning and mid-late evening light is almost always the best time to photograph landscapes and any outdoor scenes. Midday natural light can be very harsh, with deep shadows and extreme brightness. Your highlight and shadow details could be extreme with blown-out highlights or no detailed shadows. This can be a recipe for image exposures that could be unpleasant. This photography’s morning light was very bright. The shadows are deep, with little details. The mid-tones are pleasant. The highlights are a little on the hot side, but just a small fraction. My intention was the create an image with details in the mid-tones so the viewer can see the reflections in the water.
Afternoon Side Light, Early Summer
Photography lighting tip number two: Weather and Time of Year are important too.
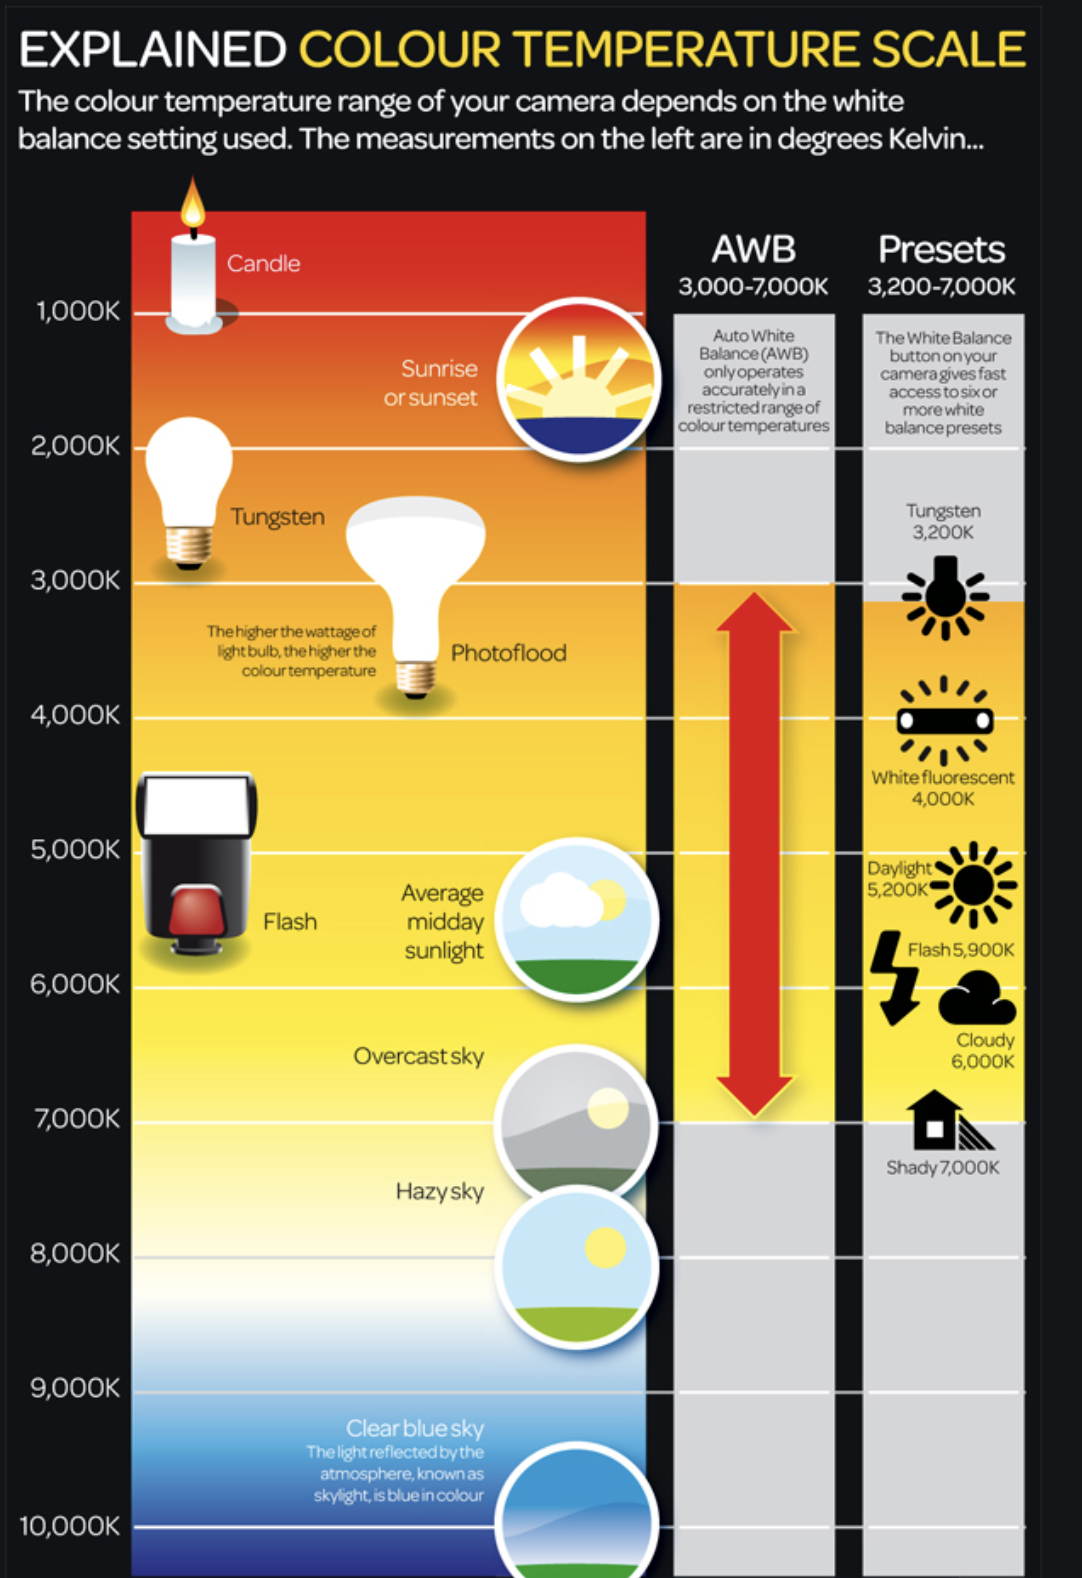
Natural light has different tonal values and colors depending on the weather and time of year. Summer natural light is usually stronger and brighter than winter natural light. If it is rainy or overcast, the natural light will usually be mixed with precipitation elements and be different color tones. Softly lit cloudy days can be very appealing with skin tones. The side light happened because the sun was going down. It was important to me to photograph this scene with light streaming from one side. The afternoon natural light is flattering. The viewer can see details in the shadows. The mid-range tones are vibrant and flat, as are the highlights. The shadow detail was very important, so your eye looks from one end of the image to the other end.
Flat Afternoon Light in Spring
High Contrast, Midday Light
Photography lighting tip number three: The Direction of Light.
The quality and direction of natural light are very important. Sidelight illuminates your subject from the side. Late day and early morning side light can be very beautiful for your subject. The backlight comes from behind your subject. When used properly, this can be the most interesting type of light. It is tricky at times. It took me time to master this, with many exposures to get the effect I wanted. Soft light is a very low light before sunrise. Rainy or snowy days usually have soft light. Top light comes from overhead. Summertime midday light or tropical sun falls into this category. Flat light happens in cooler, winter months, and regions. It can be dramatic with evening cityscapes and streets because the electric lights are pronounced with flat light. For the photograph with the single tree, the harsh summer light was coming from directly above. I have no shadow detail and my mid-tones feel little burned. However, I liked that aspect. I like I have cloud detail and grass detail, even if it feels burned. The pond photograph was created in the flat afternoon light. It feels muddy and mushy. Which is what I wanted to convey. I like the water reflections and the rolling clouds in the sky.
Available Light, Dusk


